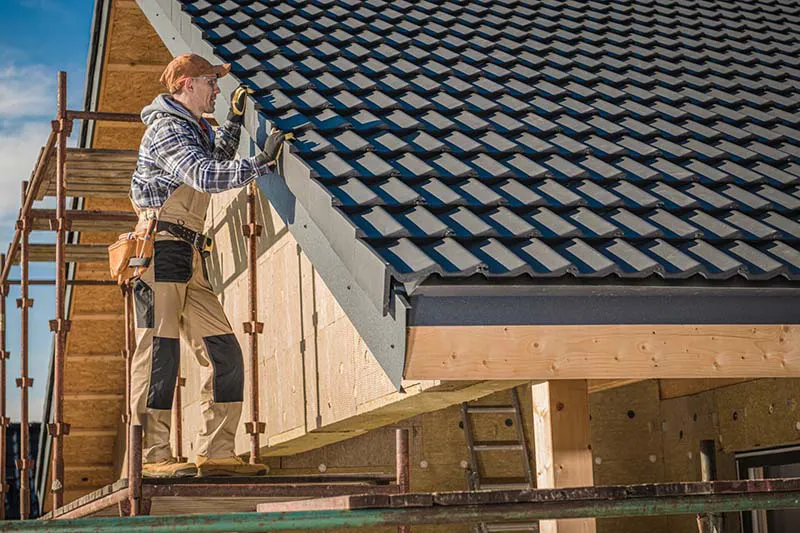
Severe weather conditions can result in an exposed roof, posing significant challenges for homeowners. Immediate action is crucial to prevent further damage and ensure the safety of the home’s occupants. Here’s a comprehensive guide on what to do if you find yourself with an exposed roof after a storm.
Addressing Interior Leaks
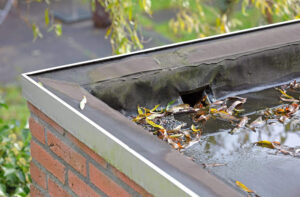
The aftermath of a storm can lead to active water leaks inside your home, especially if shingles or flashing are absent, or if there’s a breach in the roof decking. The first step is to head to the attic, identify the source of the leak, and mitigate its spread. Utilize buckets to collect the dripping water and ensure they’re emptied regularly. Once the interior leak is managed, you can focus on addressing the external damage.
Prioritizing Safety
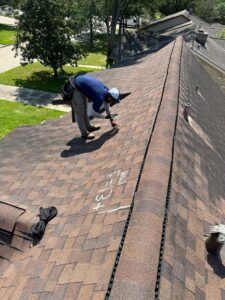
Safety should always be the top concern. Climbing onto a roof, especially post-storm when it’s wet and potentially unstable, is fraught with risks. Before attempting any temporary fixes, it’s advisable to contact an emergency roofing contractor. If they can offer prompt service, it’s best to entrust the task to professionals equipped with the right tools and expertise.
However, if immediate professional help isn’t available and another storm is imminent, you might need to act. Remember, never venture onto a steeply pitched roof, avoid standing on tarps as they can be slippery, and never attempt repairs during a storm. It’s also essential to have a partner to assist and ensure safety during the process.
Essential Materials for Temporary Protection
If you’re faced with an exposed roof, a tarp can serve as a temporary shield while you await professional intervention. This is a stopgap measure intended to minimize damage from impending storms if permanent repairs can’t be executed promptly.
For this, you’ll require a woven plastic tarp that’s sufficiently large to cover the exposed roof area, with an additional 3 feet on all sides. Additionally, gather several two-by-fours and a variety of screws to firmly affix the materials.
Tarp Installation Guide
- Initial Setup: Wrap one end of the tarp around a two-by-four and fasten it securely using screws. Position this wooden length atop the roof, just above the exposed section.
- Covering the Exposed Area: Extend the tarp over the exposed section until it stretches a few feet beyond the damaged zone. Wrap the tarp’s end around another two-by-four and fasten this wood piece onto the roof with the rolled side facing downwards.
- Securing the Tarp: If needed, additional two-by-fours can be used to anchor the tarp’s sides.
Rely on a Trusted Roofer for Emergencies
The best way to navigate such challenges is to have a trusted roofer on standby, ready to respond during emergencies. With a dependable team like The Roofing Center, homeowners can have peace of mind, knowing that expert assistance is just a call away. As a leading roofing service in Salt Lake City, we prioritize your safety and home’s integrity. Remember, in times of crisis, The Roofing Center is your go-to roofer in Salt Lake City.