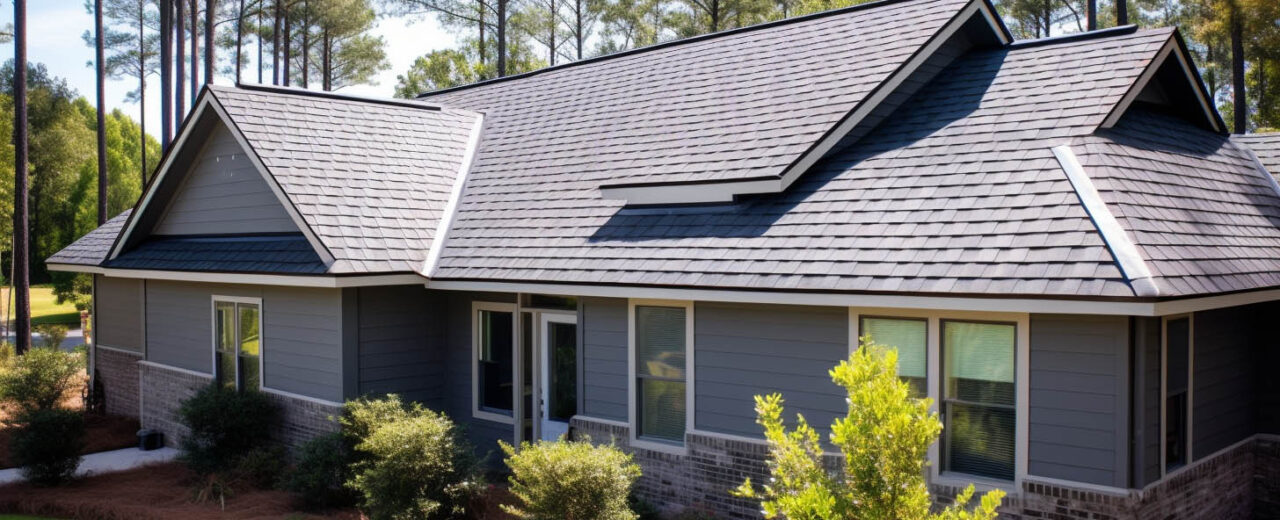
The Process of a Residential Asphalt Re-Roof Project
A residential asphalt re-roof project is a significant undertaking that can enhance a home’s durability, efficiency, and aesthetic appeal. Replacing an asphalt shingle roof involves a structured process that ensures long-lasting protection, whether due to age, storm damage, or general wear and tear. Here’s a step-by-step breakdown of what homeowners can expect during a re-roofing project.
Step 1: Initial Inspection and Estimate
The first step in a re-roofing project is a thorough inspection by a professional roofing contractor. During this phase, the roofer assesses the existing roof’s condition, looking for signs of damage, such as missing shingles, leaks, or structural issues. After the inspection, the contractor estimates material costs, labor, and timeline expectations.
Step 2: Choosing Roofing Materials
Once the project is confirmed, homeowners select the type of asphalt shingles they prefer. Options range from traditional three-tab shingles to more durable architectural shingles, which offer enhanced aesthetics and longevity. Additional materials such as underlayment, flashing, and ventilation components are also chosen at this stage.
Step 3: Preparation and Permitting
Before work begins, the contractor secures any necessary permits local building codes require. The work area around the home is also prepped, which may include moving outdoor furniture, covering landscaping, and setting up safety equipment. A dumpster is typically delivered to dispose of old roofing materials.
Step 4: Removing the Old Roof
The actual roofing process begins with the removal of the old shingles. Contractors carefully strip away the existing materials down to the roof deck, disposing of the debris properly. During this phase, the roof deck is inspected for any signs of damage, such as rot or weakened areas, which are repaired before proceeding.
Step 5: Installing Underlayment and Flashing
With the old roof removed, a new underlayment is installed. This waterproof barrier helps protect the roof deck from moisture. Flashing is also installed around chimneys, vents, and other roof penetrations to prevent leaks in vulnerable areas.
Step 6: Installing New Shingles
Once the underlayment is in place, the new asphalt shingles are installed. Roofers begin at the bottom edge of the roof and work their way up, securing each shingle according to manufacturer specifications. Proper alignment and fastening techniques ensure durability and wind resistance.
Step 7: Adding Ventilation and Finishing Touches
Adequate ventilation is crucial to prolonging the life of the roof. Ridge vents, soffit vents, or other ventilation systems may be installed to allow proper airflow. After the central installation, final touches such as sealing around edges and thorough debris cleanup are performed.
Step 8: Final Inspection and Cleanup
Once the re-roofing process is complete, a final inspection ensures all work meets quality standards and local building codes. Contractors complete site cleanup, removing nails, debris, and excess materials.
A residential asphalt re-roof project can typically be completed within a few days, depending on the size and complexity of the roof. Following a structured approach, homeowners can enjoy a high-quality, long-lasting roof that enhances their home’s protection and curb appeal.


